How to Do Knotless Braids: A Step-by-Step Guide

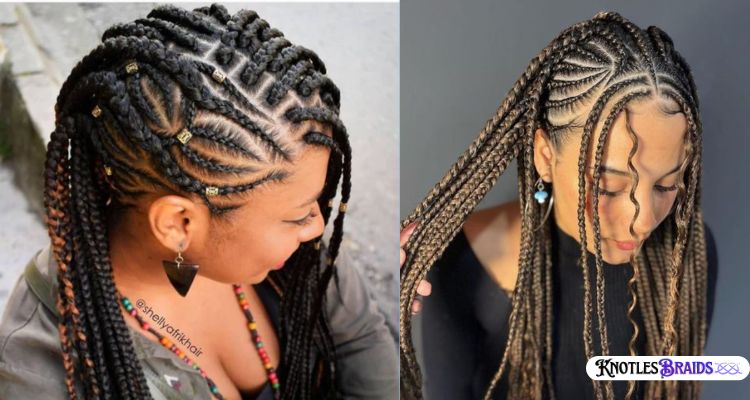
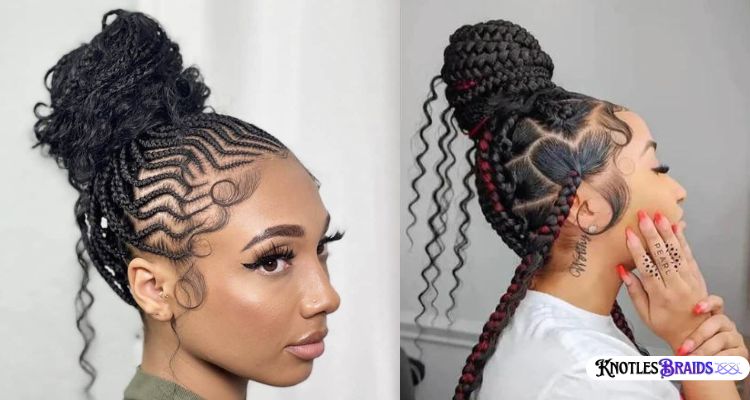
Knotless braids are a popular protective hairstyle that not only looks amazing but is also gentle on the scalp. Unlike traditional box braids, knotless braids don’t involve a tight knot at the base, which makes them more comfortable and less damaging to your hair. If you’re wondering how to achieve this style yourself, follow this detailed guide!
Details
| Hair Type | Works on all hair types but best on medium to long natural hair |
|---|---|
| Skill Level | Intermediate to advanced |
| Time Required | 4-8 hours depending on hair length and thickness |
| Tools Needed | Comb, Edge control gel, Hair extensions, Mousse |
Why Choose Knotless Braids?
Before diving into the process, it’s important to understand why knotless braids have become a go-to style for many:

- Less tension on the scalp – Unlike traditional braids, knotless braids start with your natural hair, which means less pulling at the root.
- Long-lasting – With proper care, knotless braids can last up to 6-8 weeks.
- Versatile – They are easy to style and give you a natural look.
What You’ll Need
Before starting your knotless braids, make sure you have all the following items:
- Hair Extensions – Pre-stretched braiding hair works best.
- Rattail Comb – For precise parting.
- Edge Control Gel or Pomade – To smooth and control your edges.
- Clips – To hold sections of hair in place while working.
- Moisturizer or Leave-In Conditioner – To keep your natural hair hydrated.
- Scissors – To trim the ends of the braids.
- Mousse – To smooth flyaways and set the braids.
Step-by-Step Guide to Knotless Braids
1. Prepare Your Hair
Start by washing and conditioning your hair to make sure it’s clean and moisturized. Apply a leave-in conditioner to lock in moisture and detangle thoroughly with a wide-tooth comb.
2. Parting the Hair
Use your rattail comb to create even sections in your hair. The size of each section will determine how thick or thin your braids will be. It’s best to start parting from the back to ensure neatness.
3. Apply Edge Control
Once a section is parted, apply some edge control or pomade to the roots. This helps to smooth down flyaways and ensures a sleek and neat start to the braid.
4. Start Braiding with Natural Hair
For knotless braids, instead of starting with a knot of extension hair, begin braiding your natural hair. Do a few stitches (1-2 loops) with just your natural hair before you start feeding in the extension hair.
5. Feed in the Extension Hair
Once you’ve braided a little of your natural hair, start adding small pieces of the extension hair. Add the hair gradually to prevent the braid from being too bulky or tight at the root. This technique creates a seamless look.
6. Continue Braiding
Continue braiding down, ensuring that each section is neat and even. Make sure to tug lightly to avoid any tension on the scalp, and braid all the way down to the ends.
7. Repeat the Process
Repeat the same process on each section of hair. Be patient – creating knotless braids can take several hours, depending on your hair length and thickness.
Read Also :
- Black and Neon Green Knotless Braids
- Brown Knotless Braids on Dark Skin
- 7 Trendy Lemonade Braids with Knotless in 2024
- 10 Stunning Medium Bohemian Knotless Braids Styles for 2024
Aftercare for Knotless Braids
1. Moisturize Regularly
Even with braids, your natural hair needs moisture. Apply a leave-in conditioner spray or lightweight oil every few days to keep your scalp and hair hydrated.
2. Sleep with a Satin Scarf
Protect your braids while sleeping by covering them with a satin or silk scarf. This will help prevent frizz and keep your braids looking fresh longer.
3. Touch Up Edges
To maintain the sleekness of your braids, regularly apply edge control to smooth down the hair at your hairline.
4. Avoid Heavy Styling
Knotless braids are versatile, but avoid heavy styling or tight ponytails to reduce stress on your scalp and roots.
How Long Do Knotless Braids Last?
With proper care, knotless braids can last anywhere from 4 to 6 weeks. However, this depends on how well you maintain them, as well as your hair type and lifestyle. To extend their longevity, make sure to moisturize regularly and avoid too much manipulation.
Conclusion
Learning how to do knotless braids at home can save you a lot of money while giving you the freedom to experiment with different styles. By following this guide, you’ll be able to create beautiful, long-lasting braids that protect your natural hair and provide a stylish look. Be sure to practice patience and take your time with each step to achieve the best results!


